
The Corner House Guide to Air Dry Clay
5 Tips for Pieces That Actually Last
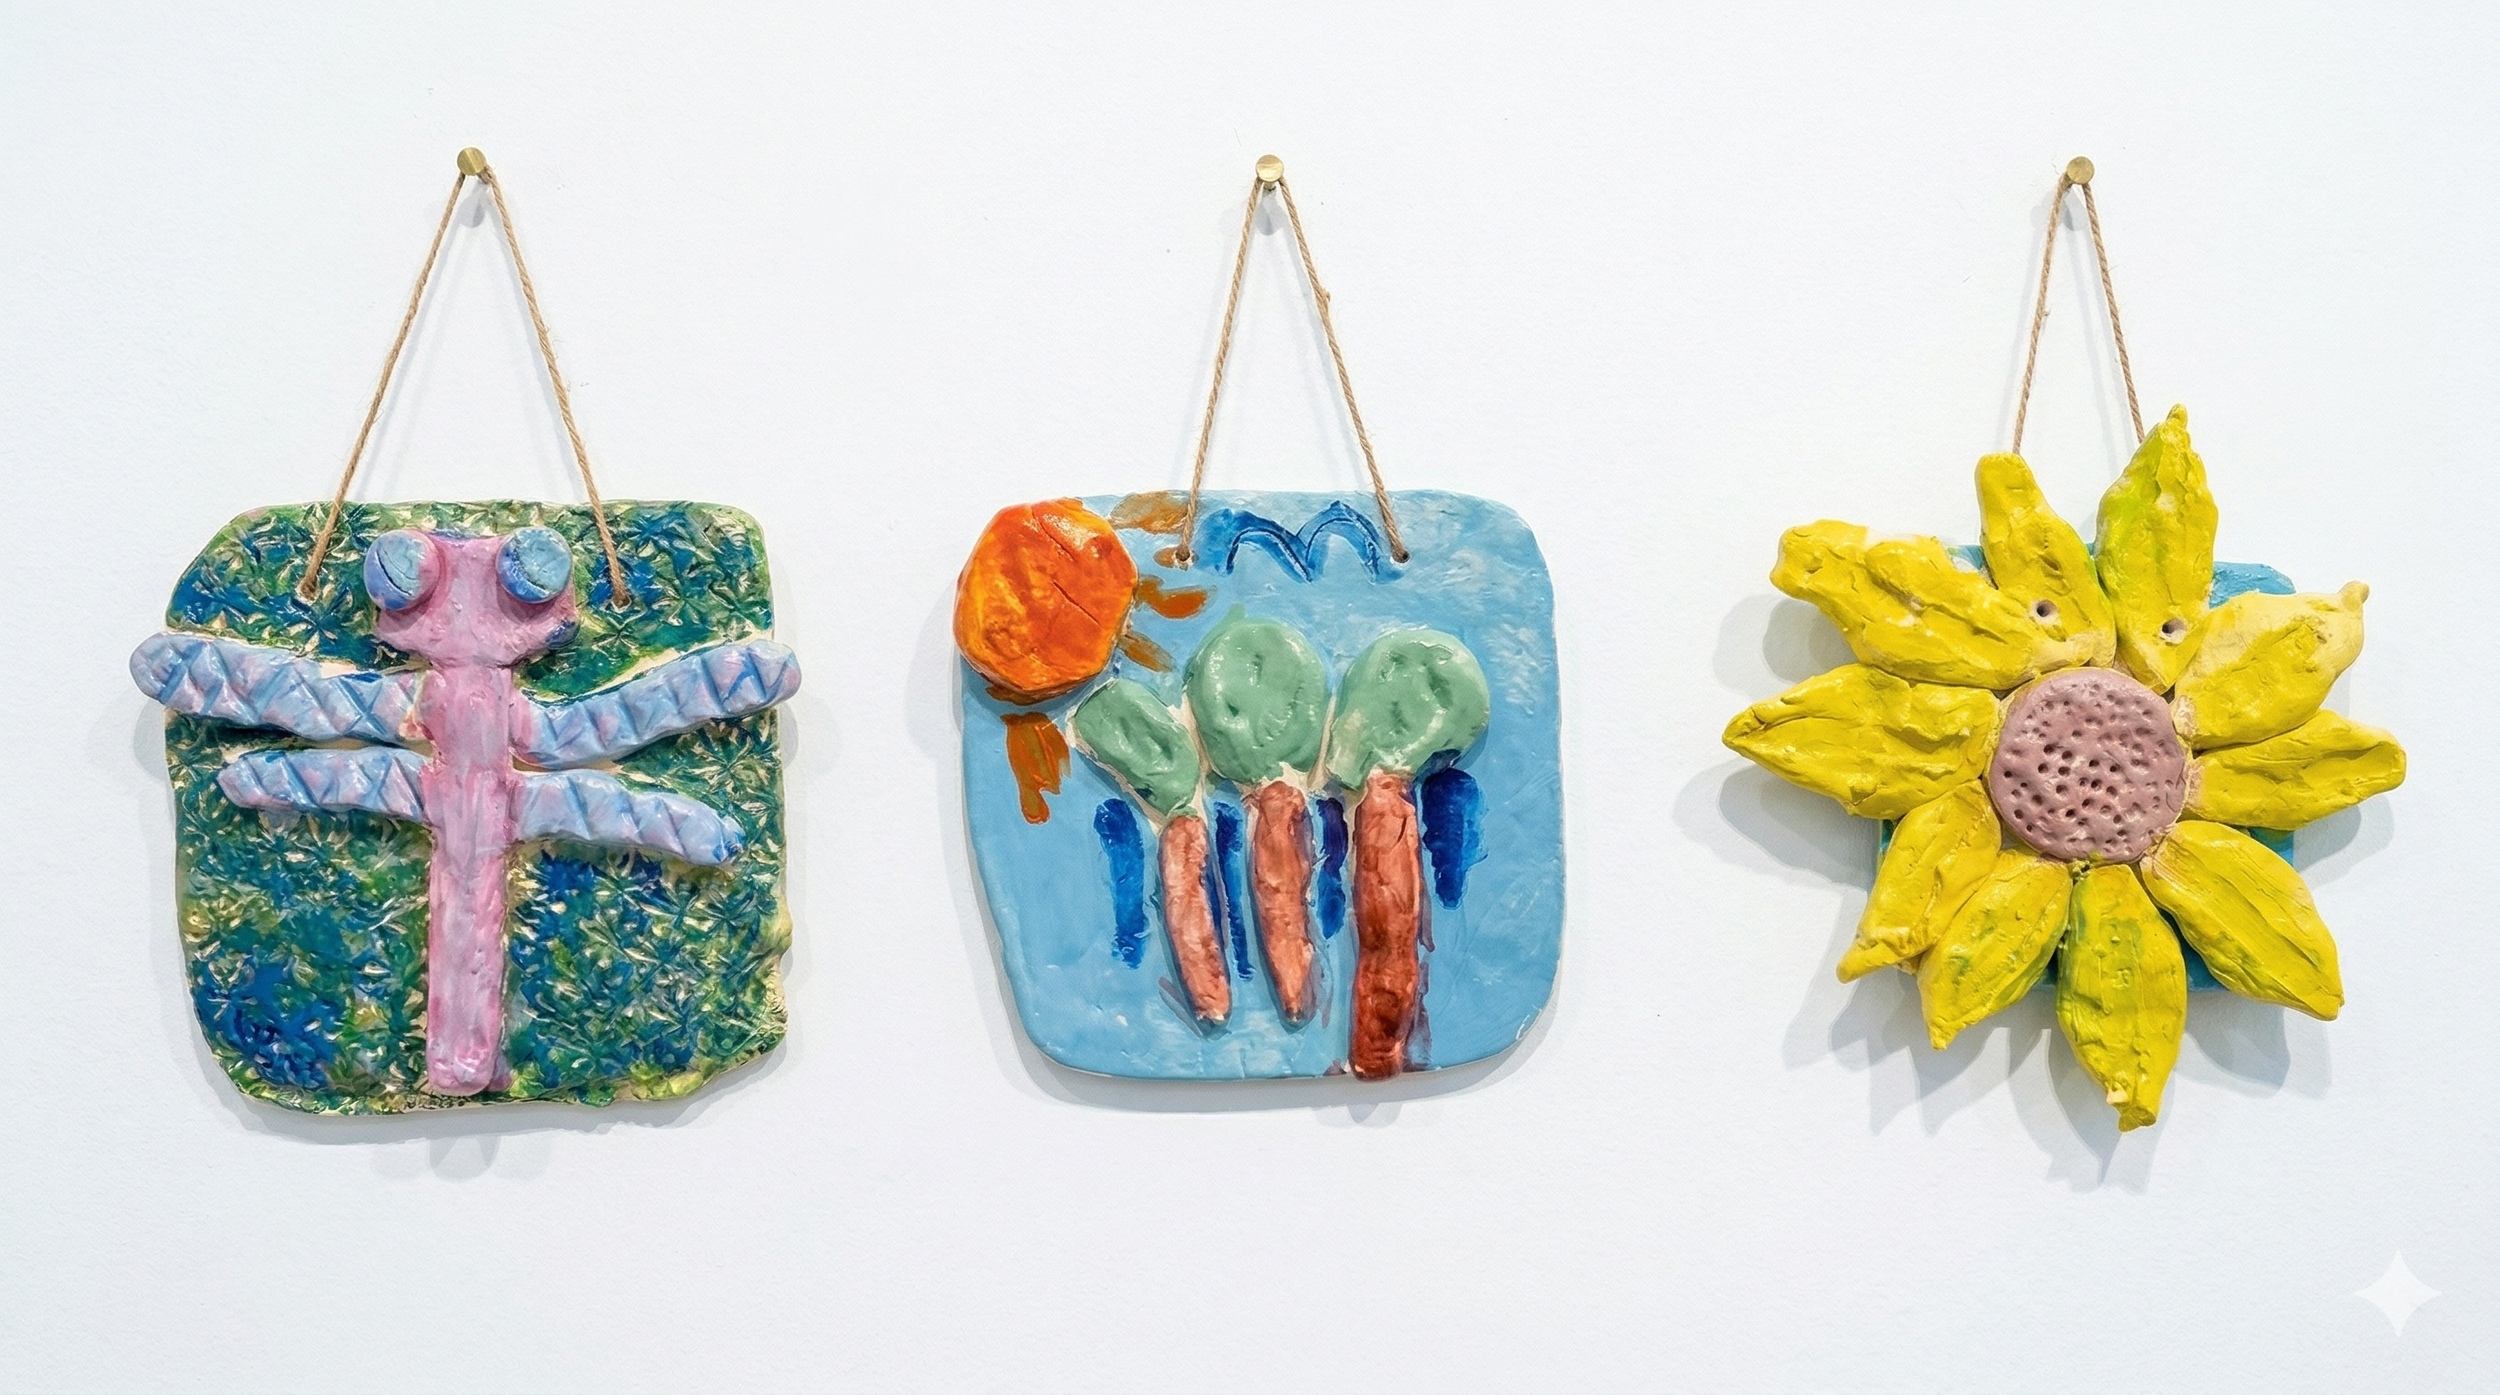
3 Gorgeous (and successful!) Air Dry Clay Slab Tiles made by kids age 6+.
No kiln? No problem. Air dry clay is one of our favorite materials at Corner House Studio. It gives kids all the magic of working with clay — building gross motor skills, thinking in three dimensions, exploring a natural material — without needing a ton of extra equipment.
But let’s be real: air dry clay can be frustrating. The kids spend 30 minutes sculpting a masterpiece, and a day later it's crumbling on the kitchen counter before you even get to paint it. The good news? Most of that crumbling is preventable. Here are the five tips we use in our studio whenever it’s a Clay Day!
Keep It Chunky
This is the number one rule in our studio. We tell every student: nothing thinner than your pinkie finger. For our littlest artists, we say nothing thinner than your thumb (have you seen a preschoolers pinkie? They’re so tiny!). Think "cookie" thickness, not "potato chip." Those thin, delicate edges might look beautiful while the clay is wet, but they're the first to crack and crumble as it dries.
Scratch, Slip & Smooth
Want pieces to actually stay attached to each other? You need slip — and you can make it yourself. Just mix a small bit of air dry clay with water until it turns into mud. That's your clay glue! When you're joining two pieces together, scratch both surfaces, apply the slip, then press and smooth them together. This creates a bond that holds.
Start With a Slab
The strongest pieces we've ever made in the studio all started with a slab base. You can pre-cut slabs with a clay slicer to make setup fast and easy. Kids then build up from the slab, which keeps the foundation nice and chunky while still leaving room for all the fun details on top.
Paint With Acrylic, Not Tempera
Once your piece is fully dry and it's time to add color, reach for acrylic paint — not tempera. We learned this one the hard way. Tempera, even the high-quality stuff, flakes right off air dry clay. It also tends to look dusty and dull. Acrylic goes on smooth, stays put, and gives you rich, vibrant color.
Seal It With Mod Podge
This is the step most people skip, and it makes the biggest difference. A coat of Mod Podge does double duty: it gives the finished piece a polished, professional look and adds a protective layer of strength that helps prevent chips and breaks. Don't skip this one!
Ready to get creative?
At Corner House Studio, we offer fine art classes, workshops and camps. In our studio your child will be met with warmth and respect. They’ll be taught by adults who love art and love kids. They’ll leave with artwork you want to keep and a growing sense that “I can do hard things. I can make something real. I am an artist.”